


- 특가 할인제품
- 전동 자동차
- 엔진 자동차
- 1/8 전동/컨버젼
- 가솔린 자동차
- 초보입문용 세트차량
- 탱크/보트/오토바이
- MINI-Z 키트/부품
- 자동차 부품
- 탱크/보트/오토바이부품
- 자동차바디/LED/튜닝 관련
- 조종기/수신기/서보
- 크리스탈
- 리튬배터리/관련악세사리
- 배터리/충.방전기관련
- 전선/잭/스위치관련
- 모터/변속기 전동관련
- 엔진/머플러/플러그 관련
- RC용 연료 관련
- 타이어/휠/관련
- 쇽/스프링/볼앤드/턴버클
- 공구/가방/박스/계측기
- 페인트/오일/케미컬
- 모델링 용품
- 베어링
- 나사/너트/와셔/E·O링
- 키덜트/과학교재
- 비행기
- 헬기
- 레이싱 드론(FPV)
- 드론(멀티콥터)


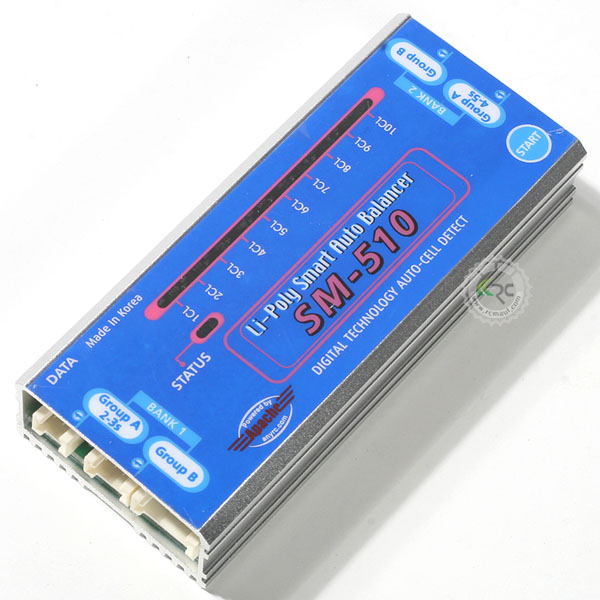
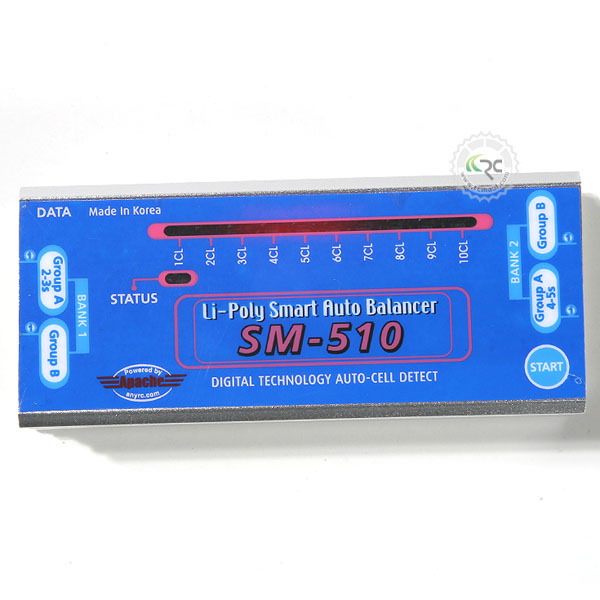
SM-510 Li-Poly BALANCER
SM-510 advance balancing technology provides active balancing and safer charging for your Li-Poly batteries,
it is important to read the manual and use the balancer correct. Use this balancer for
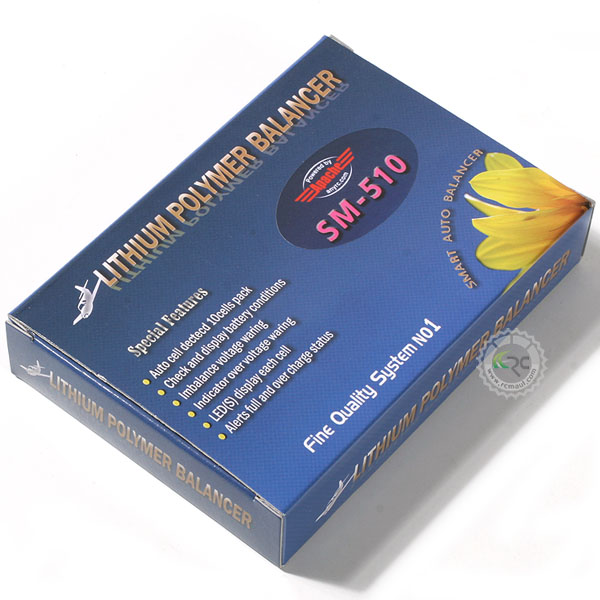
Features:
1 Auto cell detect for any 2 to 10 cells pack
2 Check and display battery conditions
3 Imbalance voltage warning
4 Over voltage warning
5 LED(s) display each cell in bleeding/balancing
6 Alerts full and over charge status
7 Provided data port to interface to TP-charger or other options
Auto Checking battery pack conditions:
1 Plug Li-poly Pack into the Balancer connector.
A. Must connect either Bank 1 Group or Bank 2 group.
B. If higher than 5 cell pack, the group A and B used for single multi connector pack.
C. If the pack has dual 6pin connector, please find which is group A or B.
2 Press “START” button to displays battery pack conditions as below:
|
A: Imbalance under 0.03V: yellow status LED “on”, red LED(s) “on” for 5 seconds Proceed with normal charging If yellow status LED “ flashes”, pack average voltage is below 3.6V B: Imbalance 0.03 to 0.2V: yellow status LED”off”, red LED(s) flash for 5 seconds Charge at 0.3A to balance the pack or proceed carefully with 0.5C charge. If yellow status LED ”flashes”, pack average voltage is below 3.6V Proceed with normal charging C: Imbalance over 0.2V: yellow status LED “off”, red LED(s) flash for 60 seconds If imbalance remain >0.2V, balancer continues beeping every minute for 10 seconds. If yellow status LED begins flashing, pack average voltage has dropped to below 3.6V You may charge the battery at 0.3A and monitor charging for one hour, if the beeping stop but bleeding continue, unplug the charger and balancer to retest the pack with balancer. If beeping continue, you need professional help. Additional audio alert: Cell voltage below 3.2V, audio beeps for 5 seconds ** Note: when the “START” button pressed again, the checking display will be repeated. |
<Charging battery pack>
1 After checking the battery, connect the battery power lead to the charger, select charge rate according to battery capacity and battery condition (see previous page)
2 Full charge alerts: Double beeps 6 times, repeats 2 times every 30 seconds, “STATUS LED” solid on (Stop charge or wait until charge is completed)
3 Over charge warning (Any cell voltage over 4.3V): Double beep and “STATUS LED” flash (Please stop charging immediately)
4 Imbalance over 0.2V while charging: Cell LED(s) are flashing and beeping for 10sec, this will be repeated every minute until conditions change(reduce charge rate to 0.3A and carefully monitor charging condition)
<Charging with pulse charger (Astro 109)
1. Charge completion alerts may be activated during phase 3 (double beeps 6 times)
2. Verify the cell count setting, if correct, you may continue charging until charge finish
<Auto self Balancing>
1. Plug balancer connector to balancer- do not charge battery
2. Balancer will bleed/balance if balancing is necessary(LEDs flashing)
<Precautions>
1. Do not connect BANK-1 and BANK-2 connectors at a same time
2. Do not connect 2 balancers to a single pack
3. Do not use in a vehicle
4. Do not use in direct sun light
5. Do not use when ambient temperature is extremely high
6. Use and store in a dry environment
7. Un-plug balancer from the Li-poly pack when not in use.
8. Do not use both bank groups
<Specifications>
1 0.1% reference voltage controlled by micro-computer chip
2 Balance cells:
3 Balance start voltage:4.1V or 3.2V for >0.03V imbalance
4 Bleeding current: Max 450mA
5 Imbalance control voltage:+/- 0.005V
6 Under voltage warning: 3.3V +/- 0.01V
7 Over voltage warning: 4.3V
8 Full charge indicator: One or more cell 4.2V and all others within 0.01V
9 Size:4.0” x 1.72” X 0.72”(102 x 44mm x 20mm)
10 Auto self balance +/- 0.005V(cell voltage >4.1V/cell)
11 Auto self balance +/- 0.015V(cell voltage <4.1V/cell)
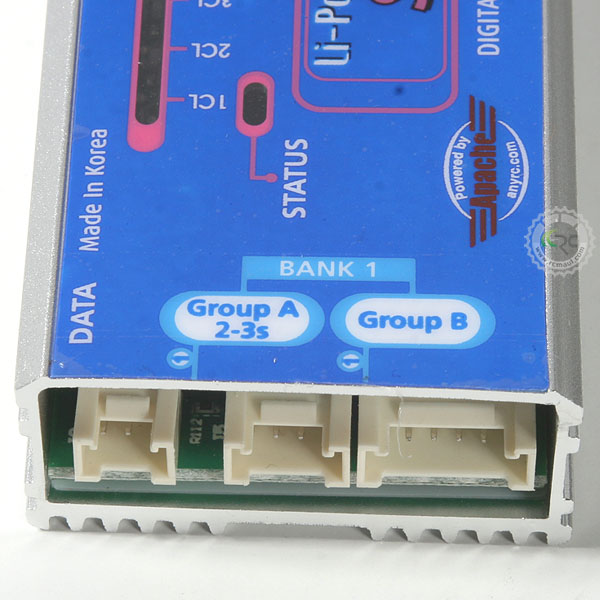
BANK 1 and BANK2
Both bank groups shared internal pin connections. Do not use both BANK 1 and 2 at a time.
Please label Group-A and Group-B to your pack when the pack has multi-connectors. (Labels include).
If swapped GROUP connection will make an error message. (flashing GROUP-A connected cell # LED)
The more details are shown Fig-1.
Warning: Do not connect both Bank 1 and Bank 2 any battery pack. (IBank1 & bank2 share pin connections internally).
Table-1:
|
Bank #1 |
Group-A |
4 pin header |
Used with 2s & 3s pack s |
Used for 6s,7s,8s packs (multi-connector pack) |
|
Group-B |
6 Pin header |
Must used in conjunction with Group-A |
||
|
Bank #2 |
Group-A |
6 pin header |
used |
Used for 9s,10s packs (multi-connector pack) |
|
Group-B |
6 pin header |
Only used with Group-A |